


 Great App Ideas: The Creative Process to Create Great Apps
Let me start with a story about coming up with a great app idea: Once upon a time, there was a Me – prepare for personal insight. And this Me’s name was Doug. Doug always wanted to make games, but realized in school that this didn’t offer the family lifestyle he wanted – something about sleeping at your desk for several months in a row when release time was coming up was a problem. So he gave up programming, which he loved to do, for a less overtime demanding career.
As he was about to finish school he was taking his senior project class – software development – and created his first iPhone app. He started making his own apps, but before he started he spoke with his team – his senior project team – about delivering their project to everyone through the app store. It wouldn’t work directly because of the way the first app was made, but the idea was a great idea.
So Doug went ahead with redoing the app. He spent several weeks before he even wrote a single line of code. He wanted the app to be great, not just OK or even good. He spent time thinking about the app, about what it should be – and what it shouldn’t be, and writing his thoughts down. He spent months developing the app.
He used the process that follows. And he feels really weird talking about himself in the third person like this.
The Creative Process for Great Apps
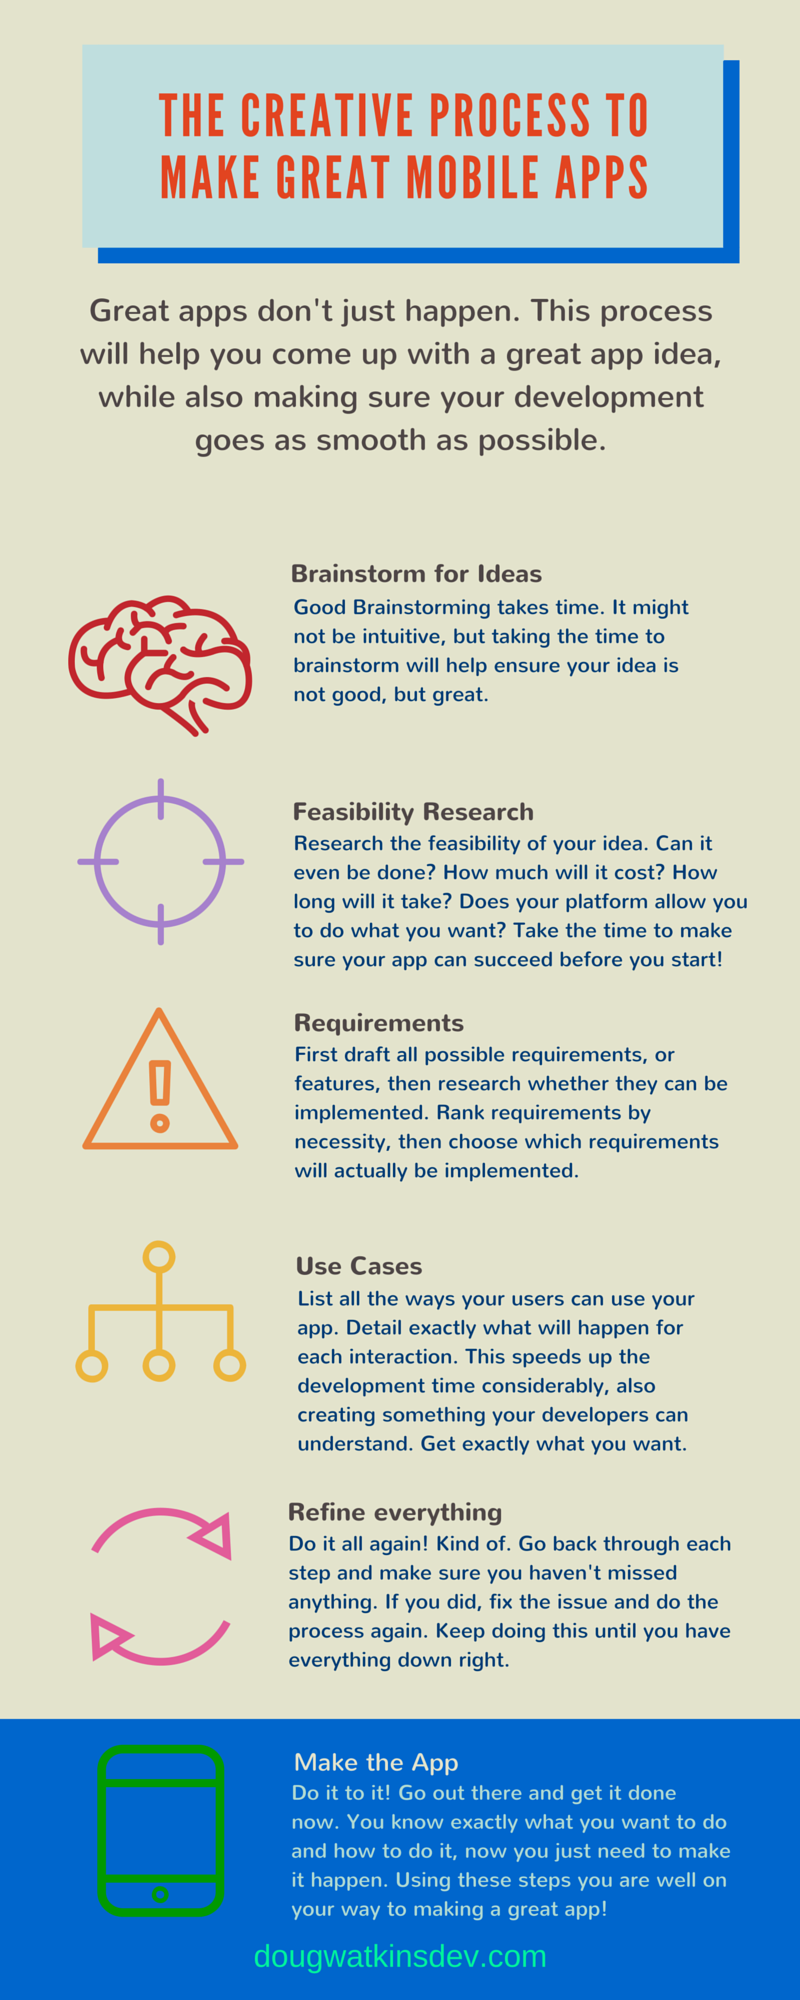
One of the things I learned, and I learned a lot, in my senior project class, was the importance of nailing the beginning of development. For those of you that code, you will probably have had times where you had an idea for something and just sat down and started hammering out code. You didn’t take the time, and I’ve done this too, to properly plan your project. You may have succeeded, you might have had to start over. This is not the way to create high quality apps. Below is my checklist for the creative process for creating great app ideas and apps:
[list icon=”check-square-o” font_size=”16″ icon_color=”4444ff” text_color=”4444ff” columns=”1″ bottom_margin=”10″]
- Brainstorm your ideas
- Feasibility research
- Requirements draft
- Requirements research
- Use Cases
- Refine all previous steps – make sure nothing was missed
- Make the app
[/list]
If you are not a software developer, this list will look a little cryptic – don’t worry I will explain it all here – but these steps are easy to forget, overlook, or just plain ignore. You cannot do this to create great apps – you may get lucky without it – but we don’t want our app development careers to be determined by luck do we? No, we want to stack the deck in our favor. We want to know that we will make back our investment in time and money when we make apps. This process is the beginning of the process of being profitable in the app store. Much comes after, and even during if you want a big launch, but that will be the topic of many other posts.
 Brainstorm Your Ideas
Brainstorming is huge, so huge in fact that it will be its own post – coming soon -. But there are a few big points that can exist here. First – come up with many different ideas. Search the store for ideas. Look around your room for ideas. Write them all down – no matter how stupid it may seem right now, if an idea comes into your head for even a second, write it down. Do this till you have a large list of ideas. Then you can start researching these ideas. You are looking for things like:
- Has the idea already been done? It’s OK, maybe even good, if others are doing this.
- How many others are doing this? Don’t pick an idea that is already flooded, unless they are all really low quality.
- Can you do it better than them?
- Are these similar ideas selling? Do they have lots of reviews? Look for signals that the app is at least bringing money in. You want to make money don’t you?
- Does it sound like something you would enjoy making? If you don’t enjoy the process, pick something else.
- Is the topic of interest to you? Again, you need passion to make a truly great app. People can pick up on whether you have passion about the subject.
- Is there a need that people have that you could fill? Why not make apps that make the world a better place? Fill a need and you will know exactly who to market the app to. This is my preferred method of finding great app ideas.
All these items are important to understand. Go through your list and pick a couple of really good contenders for the next phase.
Feasibility Research
This might seem like a weird phrase, but it basically means: Can it be done, realistically? How much will it cost? How long will it take? Will I make my money back? And maybe most importantly, will the platform allow it? By this I mean; Apple restricts access to many things that Android does not. If you want to make a 3 way calling app, you will either need to find a way to use VOIP to accomplish this or go to Android, because Apple will not let you access the built in phone app.
I found out the hard way after setting up My Food Storage to use SQLite to store data, but had always planned on using iCloud to sync between devices. A little bit of research told me something … SQLite creates little files while it is working, and if iCloud decides to sync while these files are being used – instant data corruption. After I had the app in the review process – Apple even approved the app – I had to completely rewrite my data persistence. This worked ok for me, but it could have been a really huge setback – the app took an extra 2 weeks to see customers, between my development time and Apple’s approval time.
All of these factors are important to look into when deciding which idea you should go with. By this point you should have an idea picked out to move forward on, though keep your list because you might want it for the next idea. For a more thorough post on feasibility, and ways to go about figuring out these points see my post here. – Coming Soon –
 Requirements
There are two steps to the requirements, the draft and the research. These are possibly the most important parts of coming up with great app ideas.
The Draft
First you have to sit down and think of all the things you want your app to do. You can jot ideas for UI layout as well, but focus more on what functionality you want for now. I only include UI/UX if it is pertinent to the functionality, which is pretty rare – though ideas about usability are not rare. By this I mean requirements for including a menu or something similar – this is UI/UX, but it might impact a requirement you might have such as “Every screen should be available within 2 taps”.
Come up with every possible thing your app could conceivably do. Don’t hold back, because this is another brainstorming session here. You want the biggest list full of anything that might be possible, and probably some impossible things as well. Shoot for the moon, we’ll figure out what requirements to actually use later.
Just pick a time to sit down with your pen and paper, or tablet and stylus, and write. You should come up with a fairly large list of possible things to do in the app. Don’t worry about how you will make all this stuff happen, just get a list of things you think your app should do.
One other thing that is important here, before categorizing each item, is to decide what your apps purpose is. When I was designing My Food Storage, I actually created two sets of requirements, because my first set had contradicting requirements.
I originally planned to make it about having a years worth of emergency food storage on hand, and calculating what the user needed to purchase based on who they were storing food for, and what they had on hand. My other main requirement was ease of use, and more specifically the amount of time to add/remove food. It was vital to me to be able to add food in 10 seconds or less, once people got used to the app.
My initial requirements document had too much functionality. It took more like a minute to add an item, and when you have to add potentially hundreds of items, this is way too much to ask a user to do – though not necessarily to much for a business. So I had to go back and re draft my requirements, to cut out the now unnecessary parts – I had to figure out which parts were now necessary and not. This took time, not to mention that I was less than a week from putting the app in the store when I realized this and had to completely redo most of the app. I hadn’t spent quite enough time on my requirements document up front – though I had spent over a week just working on this.
So don’t skip the usability requirements, they may be the most important requirements you have. Usability requirements will almost always be Must haves in my list below. Though sometimes they are not.
Once you have the large list, start categorizing everything. My personal categories are:
- Must have – the app needs this to function
- Should have – the app could possibly do this, but it might not need to do it
- Nice have – it would be really nice if the app did this, but it isn’t necessary
- Wants – I want this feature, but it is totally extra and not needed
- Can we have? – Is this feature even possible – research then put into a different category
You can create your own categories – for instance the line between nice and want is really thin, you might not need both. Once you have everything sorted, you know what you need to get done. These are the things you start on first when you begin coding. I also like to color code my lists, and underline each item with the set color. Making it easy to visualize my requirements.
Now you need to trim the list down – maybe. You need to decide which features that are not in the Must Have category that you will implement. You might decide that all your requirements will make it into the app, and this is just fine. The purpose of the requirements is not to cut out functionality, but to have a list of the functionality you need to implement.
The Research
Once you have your draft, you need to research your requirements one by one, to make sure that you can actually do what is necessary. Both that the platform will allow you to do what you want, and that you will have the technical skills to accomplish this – or that you will be able to find someone with the skills to accomplish this. Usually this doesn’t take much time, and you may have done some of this already during your feasibility study.
Once you know that you can do what your want to do – you may need to remove or edit requirements during this phase – you are ready to move on. We are getting really close to coding now.
 Use Cases
Another term you may not be familiar with; Use Cases are documents you create that outline, step by step, what the user will experience – and what your system will do – when they do a particular action in your app. For instance, the step by step part of Go Coder, another app I wrote, would look like this: NOTE – there are documents out there to use as templates for Use Cases, but unless you take the time to learn how to fully use them, what I put down should be enough to help you or your developer make your app.
The User unlocks and reads from the HTML tutorial:
The user opens the app. The user clicks “Learn”. The app loads the Tutorial Type Selection Screen. The user clicks “<html>”. The app loads the HTML Tutorial List. The user pays for the tutorial, or the users tweets to get it for free. The user is prompted for their password, or the tweet box appears. The user enters their password, or verifies the tweet. The user waits for the transaction to complete, or the user sends the tweet. The payment buttons disappear. The user selects the tutorial they want. The app opens the tutorial screen with the selected tutorial. The user is now in the tutorial.
This shows you exactly what the flow of the app will look like for someone wanting to read an HTML tutorial, note that this is only for the first time they do this. Once the tutorial is unlocked the tweet/payment part will no longer apply. This is something you would also need to include in documentation to a developer doing this for you.
Now that we’ve done one use case, you need to figure out all possible use cases. Anything the user may want to do with your app should be considered. Sometimes you will have use cases that you won’t write out because they are so simple and need no explanation. But this is rare.
Once you have all your Use Cases spelled out, you now have a blue print for your entire app. You could hand this to a designer to come up with a wireframe, and then the wireframe and other docs you created to a developer and they can make the app for you.
But first, before you do that we have one last step to go over.
 Refine
Now is the time to do it all again! Kind of. You need to look through all of these steps again to make sure you didn’t miss anything. In fact, when you are doing this right, you actually refine, and redo all previous steps, whenever you move onto and finish a step. This is similar to the waterfall method of development. If you find anything out of place, fix it. If you fix something, refine again. Keep going through the cycle until you have a product that you know will work and will have the desired user experience that you want.
Make it Happen
Now is the time to make it happen. Design your UI based on your requirements and Use Cases. If you can, test your UI – make a prototype for people to use. Does it function as expected? Do people get lost? Can they pick it up and understand what they need to do next? The user experience is a key thing to converting a great app idea into a great app. If the UX isn’t up to snuff, fix it. Find out what is wrong, or where people get stuck, and figure out how to make that part more intuitive. Hire a professional if you have the money – this is the best option unless you have experience with UX. Make sure that before you release your app people can figure it out quickly and easily.
Now it is time to code. Get it done, you already know everything you need to do, just make it happen now – or pay someone to make it happen. The coding should go much smoother with all this information in front of you. My suggestion is to start with your data model, then design the database or whatever you will do to persist data between sessions. Once you have this, you can start developing one screen at a time. Test it to make sure that it works perfectly, then move onto the next. Or just pay someone to do it for you. Either way, you are well on your way to a great app.
Did I miss anything? Is there something about coming up with great app ideas, so you can then make great apps, that you have experience with and want to share? Have a question? Want to say Hi? Please comment below, or send me a tweet @iOSDoug.
If you like what you see and want to keep updated, as well as be informed about when I release new freebies, sign up for my newsletter below for more tips and advice on growing an app business.
![[Google]]( http://dougwatkinsdev.com/wp-content/plugins/easy-adsense-lite//google-light.gif)
